
Gordon Ramsay White Bread Recipe
Gordon Ramsay white bread is a game-changer in the kitchen. I still remember the first time I pulled a fresh loaf out of the oven—golden, crusty, and smelling like pure heaven. It’s time to ditch the store-bought loaves that taste like cardboard and learn to bake bread that sings with flavor. This isn’t just about making bread; it’s about mastering a skill that will have friends and family begging for your secret. With a bit of guidance on techniques, ingredient choices, and troubleshooting tips, you’ll learn how to create a loaf that’s so good, you might want to write a love letter to your oven. Let’s get those sleeves rolled up and dive in!

Recipe at a Glance – gordon ramsay white bread

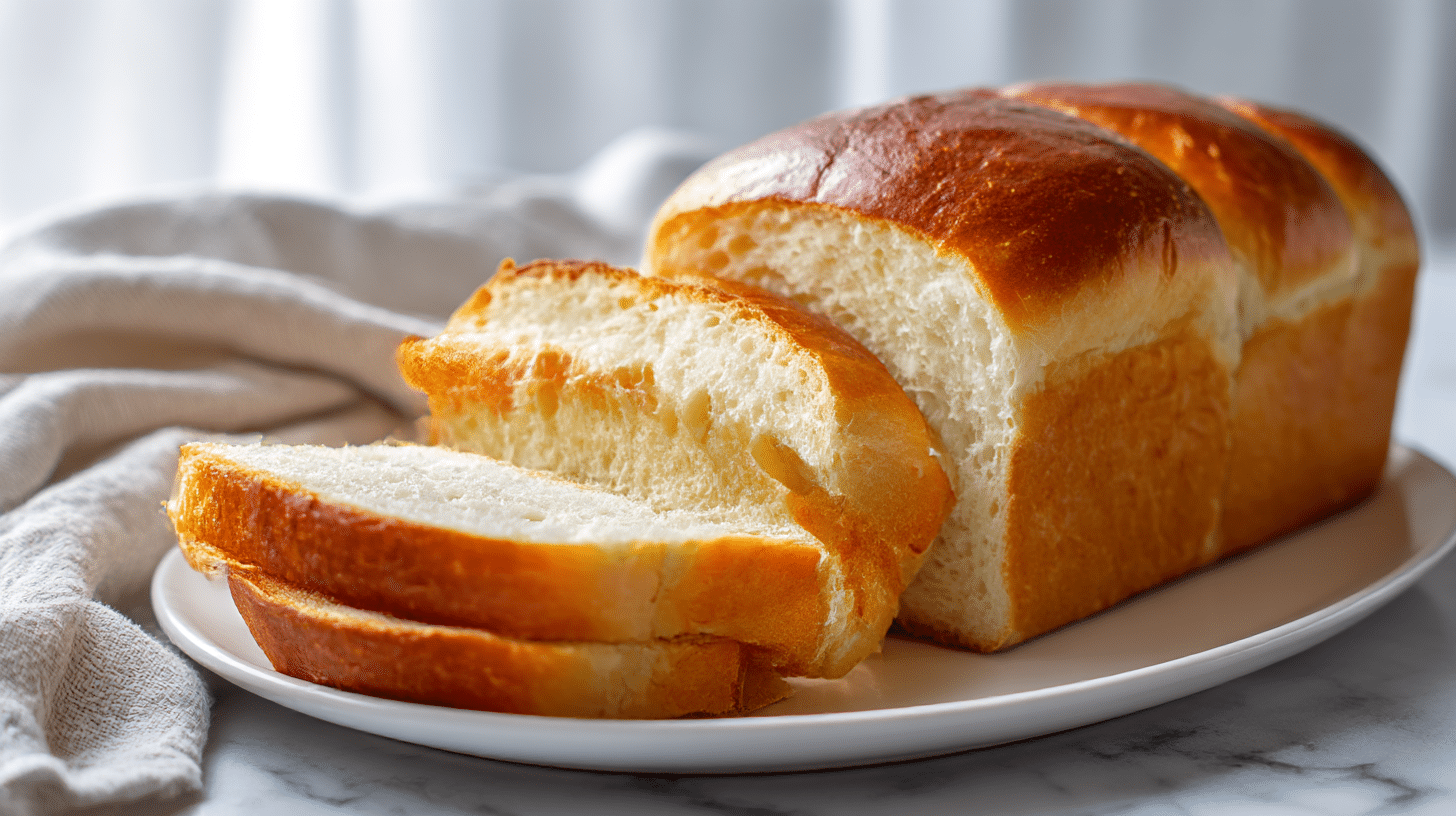
Gordon Ramsay's Perfect White Bread
Ingredients
Equipment
Method
- Combine flour, yeast, and salt in a bowl. Make a well in the center and gradually add warm water, mixing with a wooden spoon until it forms shaggy dough.
- Let the dough rest for 5 minutes to absorb the water. Then mix at moderate speed until everything is combined, avoiding overworking.
- Knead the dough for 8-10 minutes using the 'stretch and fold' method until it feels smooth and elastic.
- Cover the dough and let it proof in a warm place (25-30°C) for 1-2 hours, until it roughly doubles in size.
- Preheat your oven to 220°C (430°F) for at least 30 minutes before baking.
- Shape the dough and place it on a baking tray. Bake for 25-30 minutes until it has a golden-brown crust.
- Let the bread cool on a rack for at least 30 minutes before slicing to avoid a gummy interior.
Nutrition
Notes
Love this recipe?
Give us 5 stars and comment!Key Ingredients for Perfect White Bread
Essential Flour Types
When it comes to Gordon Ramsay white bread, the type of flour I choose makes a big difference. I go for strong white bread flour since it has a higher protein content, giving the loaf that lovely chewy texture. If I can’t find it, a mix of all-purpose flour can work, but I won’t expect the same results.
Yeast Selection
Yeast is my go-to in bread making. I prefer instant yeast for its ease of use or active dry yeast for a more traditional approach. I always check the expiration date to make sure it’s good to go. A good rise is key for fluffy white bread.
Salt’s Role
Salt is not just for adding flavor; it also strengthens the dough. I use about 10g of salt per 500g of flour. This keeps fermentation in check and controls the yeast. Too little salt can make the dough go nuts—literally!
Sweeteners in Dough
Throwing in sweeteners like sugar or honey can kick up the flavor and color of my white bread. I aim for around 15-20g per loaf for a hint of sweetness. But I don’t go overboard; I still want my bread to taste like bread, not dessert!
Mixing and Kneading Techniques
Initial Mixing Technique
I start by mixing my dry ingredients—flour, yeast, and salt. Then, I create a well in the center and slowly add warm water, using a wooden spoon to mix. Patience is crucial; I don’t rush this step! I mix until a shaggy dough forms.
Speed and Timing
Once everything is combined, I let the dough rest for about 5 minutes. This allows the flour to soak up the water. After that, I mix at a moderate speed if I’m using a stand mixer. The goal is to bring it all together without overdoing it.
Achieving Dough Consistency
The dough should feel smooth and elastic, not sticky. If it’s too dry, I add tablespoons of water. If it’s too sticky, a light dusting of flour is my savior. A well-made dough is the backbone of any good bread.
Kneading Tips
Kneading is where the fun begins. I use the “stretch and fold” method for a few minutes until I get a nice, elastic texture. This usually takes about 8-10 minutes. The dough should bounce back a little when I poke it.
The Proofing Process
Understanding Fermentation
Proofing is when the dough gets to do its thing. This is when the yeast ferments and adds flavor to the bread. It usually takes 1 to 2 hours for a good rise, depending on how warm it is. If it’s cold? The yeast takes its sweet time!
Ideal Temperature and Time
I find that a warm spot around 25-30°C (77-86°F) is perfect for proofing. If my kitchen is chilly, I might turn the oven on for a bit or use a proofing drawer. I don’t rush this step; good things take time!
Signs of Proper Proofing
My dough should roughly double in size. If I poke it, the indentation should slowly spring back. If it collapses, my dough has over-proofed and is just a sad pancake—definitely don’t let that happen!
Baking Your White Bread
Preheating the Oven
I preheat my oven to 220°C (430°F) at least 30 minutes before baking. This helps me achieve a good rise and develops that beautiful golden crust we all crave. No shortcuts here! Preheat properly!
Baking Duration and Color
My bread needs 25-30 minutes in the oven. I look for a golden-brown crust as a sign that it’s ready. If it’s too light, I give it a few more minutes but watch it closely—I can always turn down the heat.
Steam Influence
Adding steam while baking makes a huge difference for that perfect crust. I can toss a few ice cubes into a hot pan at the bottom of the oven or use a spray bottle to mist the dough before baking. This simple trick works wonders!
Cooling and Slicing Techniques
Importance of Cooling
I let my bread cool on a rack for at least 30 minutes before slicing. If I cut it too early, I risk a gummy inside. Think of it as letting my bread catch its breath—patience pays off!
Slicing Techniques
I use a sharp serrated knife to slice my bread. I start at the crust and let the knife do the work. I avoid sawing back and forth; steady pressure gives me clean, even slices. If I want perfect sandwiches, even slices are a must!
Common Troubleshooting Tips
Dense Bread Issues
If my bread turns out too dense, I check my yeast. If it was expired or the dough didn’t rise enough, that’s probably why. Next time, I’ll allow for plenty of proofing time and use fresh yeast!
Under- or Over-Proofing
If my bread hasn’t risen enough, it was likely too cold or my yeast was inactive. If it has over-proofed, I need to cut down my proofing time. A soft, collapsing dough is a no-go—I’ll learn from this!
Crust Problems
A pale, soft crust usually means not enough steam or too low a baking temperature. If it’s way too hard, my bread might have baked too long. Finding balance is key; I keep notes on my adjustments.
Flavor Adjustments
If my bread lacks flavor, I might try adding more salt or playing with different sweeteners. Herbs can also lift the flavor profile. Next time, I won’t hesitate to experiment with flavors!

Step-by-Step Video: How To Make Bread | Jamie Oliver – AD
FAQ – gordon ramsay white bread
How do I mix the dough correctly?
Mix on low speed for 3 minutes, then increase speed for another 5 minutes until you achieve a soft, slightly sticky dough.
What temperature should my dough be during proofing?
The ideal temperature for proofing is around 75°F to 80°F, keeping it warm and draft-free.
How long should I bake the bread?
Bake for 35 to 40 minutes at a high oven temperature until the crust is golden brown.
How do I prevent dense bread?
Ensure you properly proof the dough; under-proving leads to dense bread, while over-proving can deflate the dough.
Before you start cooking…
There you have it—your golden ticket to making mouthwatering Gordon Ramsay white bread at home. The crust is crackling, the interior fluffy and soft, and the aroma is so enticing it’ll make your kitchen feel like a bakery. The first slice is the best; it’s all about that fresh bread joy. And trust me, once you get it right and feel that dough come together under your hands, you’ll never look at store-bought bread the same way again. Now it’s your turn—make it bold, make it yours!


