
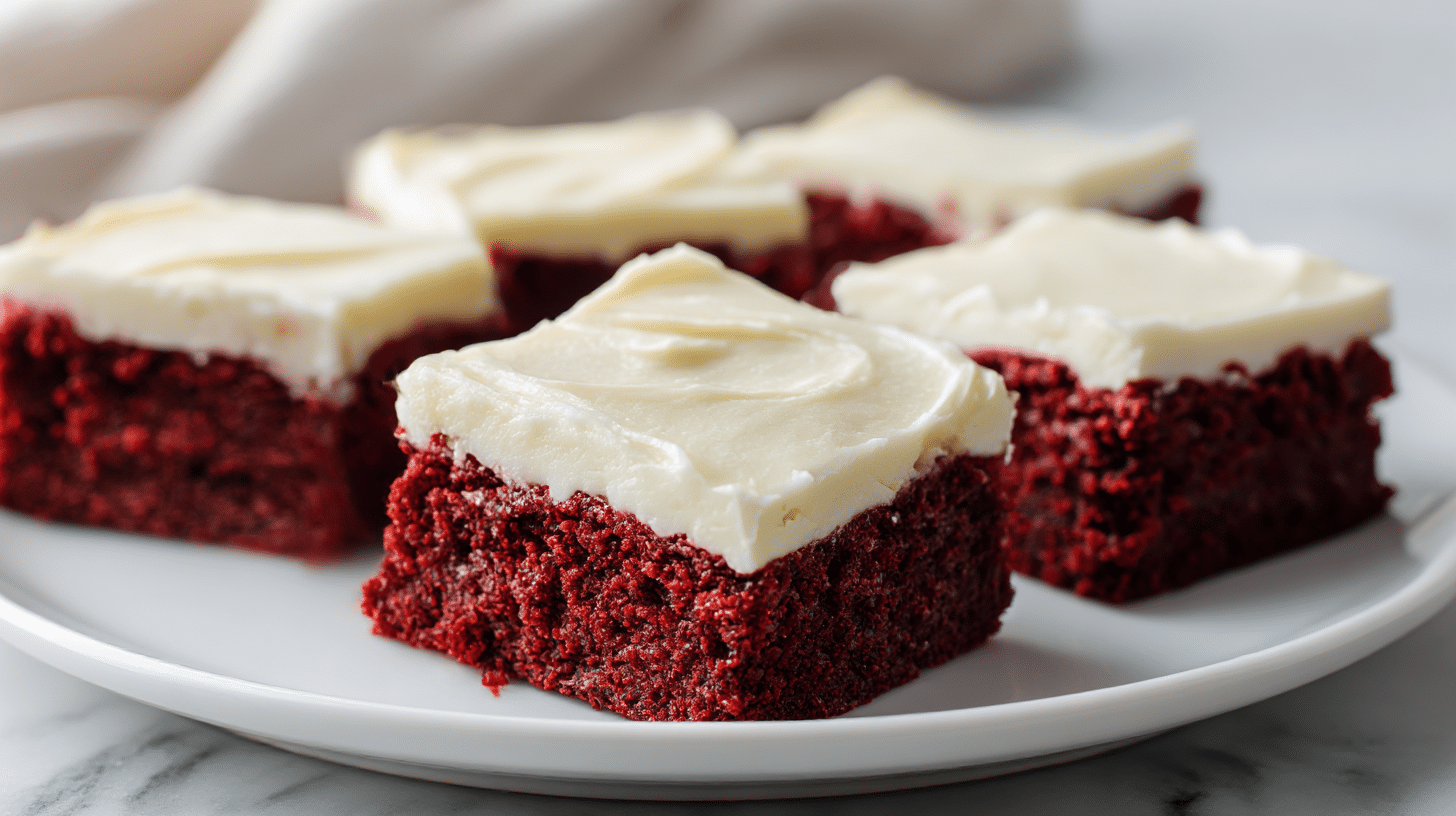
Gordon Ramsay Red Velvet Brownies Recipe
Gordon Ramsay red velvet brownies are one of those delightful treats that can make even the dullest day feel like a celebration. I remember the first time I tried to whip them up; let’s just say, my kitchen resembled a crime scene, cocoa powder everywhere! But once I cracked the code, it transformed my baking game forever. These brownies are not just about that stunning red hue—they pack a punch of flavor that can only come from careful balance and quality ingredients. Plus, they’re easier to make than you think! With the right tips, you’ll be strutting around your kitchen like a pro, ready to impress anyone with this incredible dessert.

Recipe at a Glance – gordon ramsay red velvet brownies

Gordon Ramsay Red Velvet Brownies
Ingredients
Equipment
Method
- Preheat your air fryer to 160°C (320°F).
- Whisk together the dry ingredients in a bowl.
- Cream the melted butter and sugar using a hand mixer for 2-3 minutes until light and fluffy.
- Slowly add the dry mixture into the wet one, stirring just until combined. Pour this into a greased air fryer pan.
- Set your air fryer to cook for about 15-18 minutes. Check for doneness by inserting a toothpick; it should come out mostly clean with a few moist crumbs.
- Cool the brownies in the pan for 15-20 minutes before transferring them to a wire rack to chill completely.
- For the frosting, beat the softened cream cheese and butter until fluffy, then mix in the powdered sugar and a splash of vanilla for flavor.
Nutrition
Notes
Love this recipe?
Give us 5 stars and comment!Core Ingredients for Brownies
Essential Dry Ingredients
To get those Gordon Ramsay red velvet brownies just right, you need some solid dry ingredients. Start with 150g of all-purpose flour, 30g of unsweetened cocoa powder, and a pinch of salt. Pro tip: Sift the cocoa powder to break up clumps; it creates a smoother brownie.
Key Wet Ingredients
We need to focus on the wet ingredients now. Grab 120g of melted unsalted butter, 200g of granulated sugar, and 2 large eggs. If you want a rich, fudgy texture, throw in 60ml of buttermilk. Remember: Room temperature ingredients mix better and help make your brownies delicious!
Color and Flavor Boosters
To achieve that iconic red hue, you’ll need around 40g of red food coloring. This isn’t just for looks; it adds that classic red velvet flavor! Add a teaspoon of vanilla extract for extra depth. Tip: Don’t skimp on the color; it gives the brownies their unique character.
Cream Cheese Frosting Components
For a delightful cream cheese frosting, mix 200g of softened cream cheese, 100g of unsalted butter, and 220g of powdered sugar. Insider tip: Beat it until fluffy, and add a splash of vanilla for a flavor boost. This frosting takes the whole dessert up a notch!
Step-by-Step Air Fryer Method
Preheat and Mix Dry Ingredients
Before starting, preheat your air fryer to 160°C (320°F). While it warms up, whisk together your dry ingredients in a bowl. It only takes a couple of minutes, but it sets you up for even baking.
Cream Butter and Sugar
In a different bowl, cream the melted butter and sugar using a hand mixer. Mix for about 2-3 minutes until it’s light and fluffy. Tip: This step ensures your brownies rise properly, giving them a wonderful texture.
Combine Mixtures and Pour
Slowly add the dry mixture to the wet one, stirring just until combined. Be careful not to overmix; it’s the key to fudgy brownies. Pour this into your greased air fryer pan; no need to make it perfect—it adds a charming rustic touch.
Air Frying Time and Testing
Set your air fryer to cook for about 15-18 minutes. When the timer goes off, check for doneness by inserting a toothpick. It should come out mostly clean with a few moist crumbs. Remember: Each air fryer is different, so keep a close eye on them!
Timing and Temperature Control
Air Fryer Settings
Get familiar with your air fryer settings. Preheat to 160°C (320°F) and cook your brownies at that same temperature for consistent results. Check frequently after the 15-minute mark; it’s the trick to avoiding overbaking.
Checking for Doneness
Once the timer’s up, take those brownies out and do the toothpick test. If it comes out wet, put them back in for another 2-3 minutes. Pro tip: Ideally, they should still be a bit gooey in the center for that rich bite!
Cooling Time Before Frosting
Let your brownies cool in the pan for about 15-20 minutes before transferring them to a wire rack. Make sure they chill completely before frosting; this stops the cream cheese frosting from melting away. Trust me, you won’t want to skip this!
Common Mistakes and Solutions
Avoiding Overbaking
The most common mistake is overbaking. Pull the brownies out while they still have a slight jiggle in the center. Tip: Undercooking is better than overcooking for that fudgy texture.
Managing Food Coloring
Using too much food coloring can backfire. Stick to the recommended 40g, and remember, it will deepen as it bakes. Pro tip: Mix it into your wet ingredients for an even color!
Addressing Grainy Texture
If your brownies turn grainy, it’s likely because the sugar didn’t dissolve properly. Make sure you cream the butter and sugar long enough. Fix: If it happens, gently heat the mixture before baking to help all ingredients blend.
Ingredient Room Temperature
Cold ingredients can affect texture. Always let your butter and eggs sit at room temperature first. Pro tip: This helps with better incorporation, giving you those brownies you’ve been dreaming of.
Variations and Regional Twists
Southern Style Additions
For a Southern twist, try adding chopped pecans or walnuts to the batter. This brings a delightful crunch. A sprinkle of cinnamon can also boost the flavor and make them a favorite at your next gathering.
Local Flavor Infusions
Incorporate local ingredients like maple syrup or honey for a unique sweetness. This can also complement the cream cheese frosting nicely. Feel free to experiment until you find that perfect balance!
Alternative Frosting Ideas
If cream cheese isn’t your thing, you could go for a chocolate ganache or even a simple buttercream. Use the same frosting recipe, swapping cream cheese for more butter. Tip: Drizzling caramel on top can take it all up a notch!
Frequently Asked Questions
Substituting Buttermilk
In a pinch? You can replace buttermilk by mixing 120ml of milk with 1 tablespoon of vinegar or lemon juice. Let it sit for about 10 minutes, and you’re set!
Caloric Content Insights
These brownies are rich in flavor, but keep an eye on those calories! On average, a single brownie has around 200-250 calories depending on the size. Enjoy in moderation; they’re indulgent!
Air Fryer vs. Oven
Baking in an air fryer can save about 25% of your time! If you decide to go with conventional oven baking, aim for 180°C (350°F) for about 20-25 minutes. Don’t forget to test with the toothpick method!
Gluten-Free Adaptation
Want it gluten-free? Just swap all-purpose flour for a gluten-free flour blend. Keep in mind, the texture might differ slightly. Tip: Always check that your food coloring is gluten-free too!

Step-by-Step Video: Gordon Ramsay Red Velvet Brownie #shorts
FAQ – gordon ramsay red velvet brownies
Can I make Gordon Ramsay red velvet brownies without buttermilk?
Yes, mix 1/4 cup milk + 1 tsp lemon juice or vinegar; sits 5 min.
How many calories in homemade red velvet brownies?
About 220 per 50g serving, comparable to store-bought options.
Air fryer vs. oven for red velvet brownies?
Air fryer is faster, around 20 min at 320°F, yielding fudgier results.
How do I make a gluten-free version?
Substitute flour with a 1:1 gluten-free blend and add 1/4 tsp xanthan gum.
Store-bought vs. homemade brownies?
Homemade are fresher and customizable, while store options often contain preservatives.
Before you start cooking…
Once you pull out those gorgeous, fudgy Gordon Ramsay red velvet brownies from the air fryer, you’ll be met with a texture that’s so deeply satisfying, it’s like each bite sings a sweet song of victory. The vibrant color, topped off with a creamy frosting, makes them practically irresistible—trust me, the aroma alone will have everyone flocking to your kitchen like moths to a flame. Finally nailing this recipe feels phenomenal; it’s that rush of achievement when you realize you can turn ordinary ingredients into something spectacular. Now it’s your turn—make it bold, make it yours.


